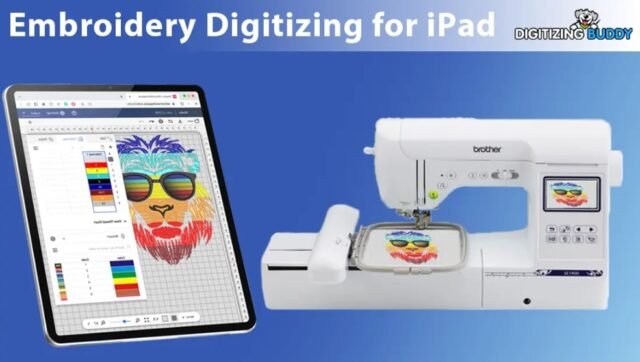
Embroidery digitizing used to require bulky software and expensive desktop programs, but now, with just an iPad and the right apps, you can turn any image into a stitch-ready embroidery file from anywhere. Whether you’re a hobbyist looking to personalize your projects or a small business owner wanting to create custom designs on the go, embroidery digitizing for iPad is easier than you might think.
This guide will walk you through everything you need to know—from choosing the best apps to troubleshooting common issues—so you can start digitizing like a pro, even if you’ve never done it before.
Why Digitize on an iPad?
Gone are the days when digitizing meant being tied to a computer. With an iPad, you get:
- Portability – Work from your couch, a coffee shop, or even while traveling.
- Touchscreen Precision – Manually adjust stitches with your finger or Apple Pencil for better control.
- Affordable Options – Many apps are cheaper than traditional digitizing software.
- Quick Learning Curve – Most iPad apps are designed to be intuitive, even for beginners.
Of course, iPad apps aren’t as powerful as professional desktop software like Wilcom or Hatch, but they’re perfect for simple to moderately complex designs.
Best Apps for Embroidery Digitizing on iPad
Not all embroidery apps are created equal. Here are the top choices for digitizing on iPad:
1. Embrilliance Essentials
- Best for: Beginners who want an easy-to-use app with solid features.
- Key Features:
- Basic lettering and monogramming tools
- Ability to import and edit existing embroidery files
- Simple resizing and rotating
- Price: $99 (one-time purchase)
2. SewArt (iOS Version)
- Best for: Auto-digitizing simple images.
- Key Features:
- Converts images to stitch files automatically
- Adjustable stitch density and underlay
- Supports multiple file formats (PES, DST, JEF)
- Price: $49.99
3. Ink/Stitch (via Cloud or Remote Desktop)
- Best for: Free, open-source digitizing (requires workaround).
- Key Features:
- Advanced manual digitizing tools
- Works with vector files (SVG)
- Completely free
- Downside: Not natively on iPad—requires cloud access or remote desktop setup.
4. StitchBuddy
- Best for: Editing existing embroidery files on the go.
- Key Features:
- View, resize, and recolor embroidery designs
- Supports most machine formats (PES, DST, EXP)
- Price: $19.99
How to Digitize an Image on iPad (Step-by-Step)
Step 1: Choose or Create Your Design
- Simple is better – Clean, high-contrast images work best.
- Remove backgrounds – Use apps like Procreate or Adobe Express to erase unwanted areas.
- Vector files (SVG) are ideal – If you have one, use it for sharper results.
Step 2: Import into Your Digitizing App
- Open your chosen app (like Embrilliance or SewArt).
- Import the image from Photos, Files, or cloud storage.
Step 3: Adjust Stitch Settings
Most apps let you tweak:
- Stitch type (satin for outlines, fill for solid areas)
- Stitch density (higher = more solid but stiffer)
- Underlay stitches (helps prevent fabric puckering)
Step 4: Manually Clean Up the Design (If Needed)
- Use the Apple Pencil to refine edges or delete unwanted stitches.
- Adjust thread colors to match your available spools.
Step 5: Export in the Right Format
- Save as a .PES (Brother), .DST (Tajima), or other machine-compatible format.
- Transfer to your embroidery machine via USB, Wi-Fi, or cloud.
Common Problems (And How to Fix Them)
1. The Design Looks Pixelated After Digitizing
- Cause: Low-resolution image.
- Fix: Start with a high-quality PNG or SVG.
2. Fabric Puckers When Stitching
- Cause: Not enough underlay or too-high stitch density.
- Fix: Add a zigzag underlay or reduce density in the app.
3. Small Text Stitches Poorly
- Cause: Letters are too tiny for satin stitches.
- Fix: Use bold, blocky fonts or increase the size.
4. Thread Breaks Often
- Cause: Stitch density is too high.
- Fix: Lower the density or check machine tension.
When to Upgrade to Professional Digitizing
While iPad apps are great for learning, they have limits. Consider professional digitizing if:
- You’re selling products and need flawless quality.
- Your design has complex shading or fine details.
- You’re working with large designs (like jackets or quilts).
Services like DigitEMB or Etsy digitizers can handle advanced projects for $10-$50 per design.
Final Tips for iPad Digitizing Success
✔ Start simple – Master basic designs before tackling complex ones.
✔ Test stitch first – Always run a sample on scrap fabric.
✔ Use stabilizer – Prevents fabric distortion while stitching.
✔ Save backups – Keep your files in multiple formats.
Ready to Start Digitizing on Your iPad?
With the right app and a little practice, you’ll be turning images into embroidered masterpieces in no time. Whether you’re personalizing gifts, creating merch, or just exploring a new hobby, iPad digitizing makes embroidery more accessible than ever.
So grab your iPad, download an app, and start stitching—your next great design is just a few taps away!


