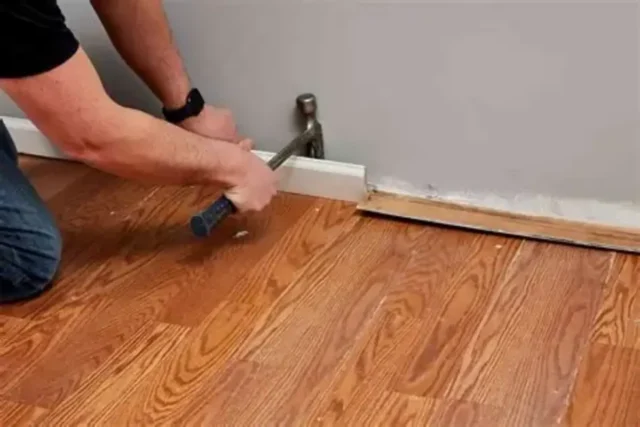
Thinking about upgrading your floors but don’t want to hire professionals? You’re not alone! Many homeowners today prefer the hands-on satisfaction of tackling home renovations themselves. One of the most doable projects for DIYers is learning how to replace floors on your own—and with the right approach, you can create a stunning transformation.
Whether you’re tackling old tiles, faded vinyl, or broken wood flooring, this manual will guide you through each stage of the replacement process. We’ll also explore the increasingly popular option of using PVC board as a durable and stylish flooring solution.
🧰 Step 1: Get Prepared – Know What You’re Replacing
Before you grab your tools, take a moment to assess your current flooring. Are you working with hardwood, carpet, laminate, or vinyl? Each surface will require slightly different removal techniques and tools.
Tools you’ll typically need:
- Pry bar or floor scraper
- Utility knife
- Tape measure
- Hammer and nails or adhesive
- Safety gear (gloves, goggles, knee pads)
DIY Tip: Always wear protective gear during demo—you’ll be dealing with sharp edges, dust, and debris.
🧹 Step 2: Remove the Old Flooring
Now it’s time to tear things up—literally! Start at the edge or corner of the room and carefully lift the existing material.
For vinyl and laminate floors: Use a utility knife to score and peel sections. For carpet: Cut into manageable strips and pull them up along with tack strips. For wooden or tiled surfaces, carefully lift the boards or tiles using a pry bar. After removal, be sure to thoroughly clean the subfloor and inspect it for any signs of wear or damage. This base will determine how well your new flooring sits.
🛠️ Step 3: Choose the Right Material – Is PVC Board Right for You?
Not sure what flooring to install? PVC board flooring has gained attention as a modern, waterproof, and budget-friendly solution—perfect for kitchens, bathrooms, and high-moisture areas.
Benefits of PVC board flooring:
- Extremely resistant to water and stains
- Easy to clean and maintain
- Lightweight and simple to install
- Comes in a variety of colors and finishes that mimic wood or stone
Other popular materials include: - Laminate: Great for living rooms and bedrooms, with a sleek look.
- Luxury vinyl tile (LVT): Delivers outstanding strength and versatile design options.
- Engineered wood: A more moisture-resistant alternative to hardwood.
📐 Step 4: Measure and Plan
Measure your space carefully, and don’t forget to account for closets, corners, or other tricky areas.
Pro Tips:
- Add 10% to your total for cutting and mistakes.
- Map out how the boards or tiles will run for a seamless visual flow.
You might also want to let your flooring materials “acclimate” by storing them in the room for 24–48 hours before installation—especially with wood or vinyl.
🔧 Step 5: Installation Time!
Once your subfloor is clean and level, begin laying out your new flooring.
For PVC board:
- Start along one wall and work your way across the room.
- Use adhesive or click-lock systems depending on the style.
- Stagger the boards to create a more natural look.
DIY Tip: Check each row for straight lines. Uneven placement early on will cause problems later!
✨ Step 6: Finishing Touches
After all boards are in place, it’s time to add finishing details like trim, baseboards, or transitions between rooms. These touches help create a professional appearance.
Make sure to:
- Seal edges in moisture-prone areas
- Clean up excess adhesive or debris
- Inspect for gaps or misalignments
🏡 Final Thoughts: Enjoy Your New Floors!
Congratulations—if you’ve followed the steps above, you’ve successfully learned how to replace floors yourself! Whether you used durable PVC board or opted for classic laminate or wood, your space now boasts a refreshed and personalized vibe.
Doing it yourself can save money and offer a deep sense of pride. Plus, you’ll know your flooring inside and out—literally. So roll up those sleeves, grab your gear, and make your home even more uniquely yours!


